Photorealistic 3D Terrace Rendering: A Tutorial
The creation of the garden courtyard visualization was aimed at highlighting the lush clusters of subtropical plants that are characteristic of New Zealand, showcasing the blurred connection between the interior and exterior design.

The most significant challenge of this render was ensuring that the landscape didn't overpower the architecture. Below, you will see key screenshots from different perspectives that we shared with the client prior to developing the fully realized white card.
Below are screenshots of angle options...


The preferred angle, which proportionally balances the building and landscape, works best in terms of emphasizing the seamless indoor-outdoor living experience, which is a key selling point for this apartment.
Once the camera position was determined, the placement of greenery was roughly done for the selected camera angle. The plants were colored in a matte finish and slightly adjusted in color to achieve the desired tone and density. Since the greenery arrangement was specifically tailored to this perspective, we wanted to align the green plan with the client before investing time in fully detailing the trees and shrubs according to the plan.

After finalizing the camera angle with the client, we moved on to the initial planting concept.
Vegetation Layout and GrowFX
Once the desired plant species were determined, we needed to strategize how to best distribute and place each plant within the scene.
We knew that planting everything with the same quality and density wouldn't make sense. Therefore, our main methodology for the vegetation layout was to prioritize complexity. Plants in the foreground would have the highest level of detail and quality, while those in the background would have less. Each type of plant was assigned a specific scattering type for better control and variation.

The gray material render stage is crucial for us, as we aim to pack as much detail as possible into this render. Even the smallest accessories can have an impact on the composition. We don't move on to refining materials and colors until the composition, lighting, architectural details, and style have been approved. This approach allows us to focus solely on the final material and texture adjustments in the next stage of production—the color grading process.

Creating vegetation has become relatively easy nowadays. We now have an extensive library of GrowFX plants that can be customized and modified according to the desired specifications during the development process. In most cases, there are good basic presets available that allow you to adjust parameters and textures to create something entirely new.
One of the custom plants we created for this project was the Elegia capensis (Horsetail restio). Creating the vegetation was relatively straightforward. The group of stems was offset from their central point with the addition of some random direction and vector orientation to give them a slight downward curve.

Then, thin leaves were added along the stems with a relatively high density. This ensured that when light hits the plant, most of it would remain dark, and only the sides would be highlighted with translucency. Random direction and vector orientation were added to provide some variability and help convey the sense of movement.

Finally, a small red leaf was added at intervals along the stem, both upward and downward. This added a pop of color and visual interest to the overall composition of the plant.

One of the great things about creating fine-leaved plants and grasses like this is that they receive a lot of light and highlights in their geometry, allowing you to achieve impressive results without relying on high-resolution maps for detailing..
Creating Textures and Materials
Leaf Material

Shrub Material

We try not to use too many maps in our textures as it can become quite tedious if you need to make changes to your scene.
Here's what the shrub looks like with the transparency gradient map applied. Its settings are shown below.


Vegetation Gradient (vertex color)

Megascans has changed our workflow - the selection of high-resolution maps prepared for us changes the game. We always fine-tune these maps to achieve exactly what we want in 3D, ensuring the highest level of control.
Scene Lighting
Due to the flat lighting in the shot, a Corona Sun was added, colored blue, and then turned off in the interactive light mix. This meant that the sun was still visible in all our rendering elements but did not affect the Beauty pass (interactive light mix pass). This allowed us to paint additional highlights and enhance the translucency on plants that were not picked up by the HDRI. (This can be seen in the test image).

Translucency Pass, which will be added to each plant type with different opacity and blending modes.

Reflection Pass, which will be added to each plant type with varying opacity and blending modes in Photoshop.

Plants Material Test - without direct sunlight.

Plant Material Test - Sunlight.
Post Production.
Unlike the exterior view we also did for this project, this terrace image was particularly challenging for post-processing.
We like to keep our base renders flat to provide greater flexibility in post-production. The main task was to correct the green color to ensure that each layer and species could be distinguished without making the image flat.
We started by organizing each plant species into subfolders and applying masks to each folder. This allowed us to control the color, contrast, and the number of reflection/transparency passes we needed to add for each type of plant. We prefer this method over applying a render element pass to the entire image, as it allows us to fine-tune each plant species precisely.
After that we used a ZDepth layer, reducing the levels in this pass, this allowed us to separate the foreground and background plants.

Next, we used a ZDepth layer, reducing the levels in this pass. This allowed us to separate the foreground and background plants.

Plants are added individually to each species, considering colors and passes.

Final Render

That's all. We hope this tutorial will be helpful to you and that you have learned a lot from it.
One thing we would like to emphasize is the importance of conducting numerous tests at each stage of the workflow. Creating a beautiful and high-quality image takes time and effort.
Throughout this project, we utilized various software tools including 3ds Max, RailClone, GrowFX, and Corona Renderer to achieve our desired results.
Source - Ronen Bekerman Blog

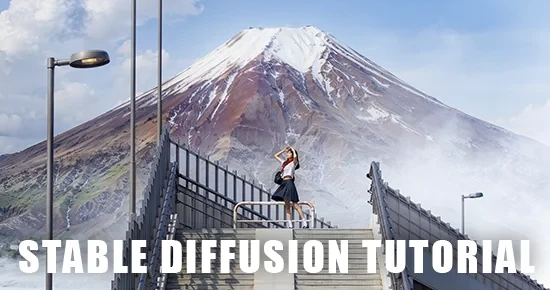
Enhancing 3D Visualizations with Stable Diffusion AI
"New World" Tutorial by uto.vz
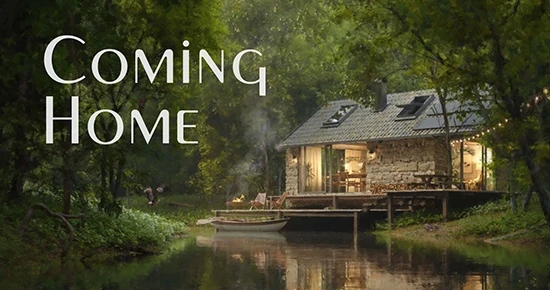
Making of "Coming Home" using Blender and Cycles
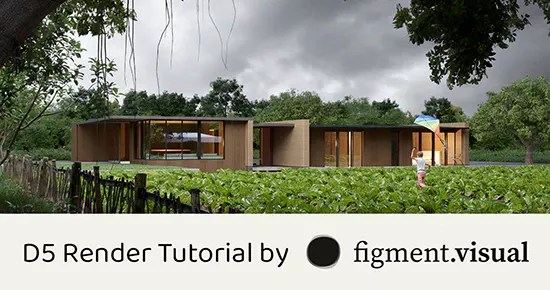
Making of "The Farmhouse" in D5 Render by Figment Visual
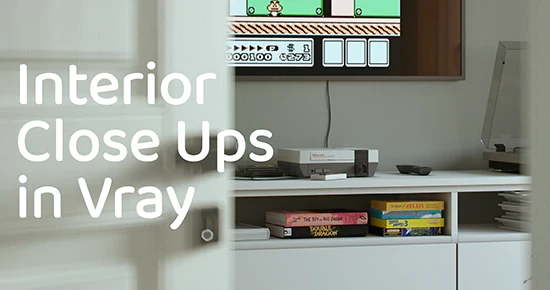
Doing the Interior CloseUp Renders in Vray with Romuald Chaigneau
The Making of Slabtown 4 Renderings by Scott Edwards Architecture

Latest Discussions
Thank you so much!! 
Beautifully composed scene! The sense of depth and lighting are just perfect. ✨
Harika bir sahne kurgusu! Derinlik ve ışık kullanımı mükemmel. ✨
Great list! I’ve been following Arch Viz Artist (AVA) for a while — their tutorials are top‑level. Discovered a few new favorites here too. Thanks for such a helpful compilation!
Great list. I am Abdullah from 7CGI. I would expect the list to have "Neoscape" in it, though. It's always interesting to see how studios around the world are pushing the boundaries of architectural visualization. We recently published a list in a more comprehensive and entertaining manner, highligh
Looking for a reliable and skilled 3D architectural visualization partner?
We specialize in creating high-quality, detailed 3D visualizations that bring your ideas to life. Let’s work together on your next project!




Thank you so much!!